Basecoat Paint Application Guide
What are Zero Paints?
Zero Paints colours are known as Basecoat Paint as they require a clear coat to give them a gloss finish. They are produced in Solid, Metallic and Pearl/Mica colours and can be colour matched to almost any 1:1 car and motorcycle. The colours are mixed using a formula which guarantees a perfect reproduction of the original colour. We do however, scale down paints with large metallic flakes to suit scale models.


Preparation is Key
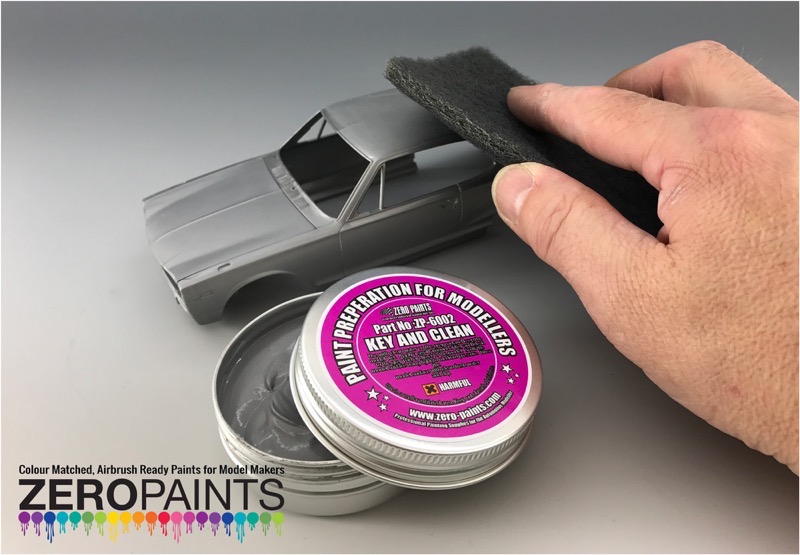
Start by removing all mould lines from the body or parts by using various grades of abrasive paper or standing sticks (we are using the 320 Foam Backed Sanding Block from Albion Alloys). 99% of manufacturers of resin and plastic kits use a mould release agent to allow castings to release better from the mould, the release agent prevents the paint from adhering to the parts. For this reason you will need to remove it from the body or parts. This can be done by cleaning the body with Key and Clean shown in the photos (ZP-), this contains a dual-action cleaner that removes silicones, waxes, other contaminates and contains micro abrasives which help to scuff the plastic so the primer adheres better. Alternatively wash with mild warm soapy water and lightly sand the panels or body with abrasive paper to key the plastic for the primer.
Always apply Primer
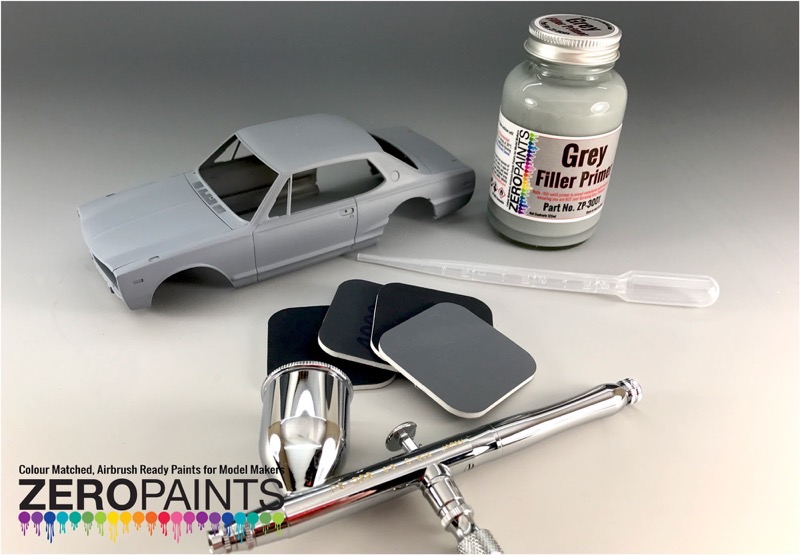
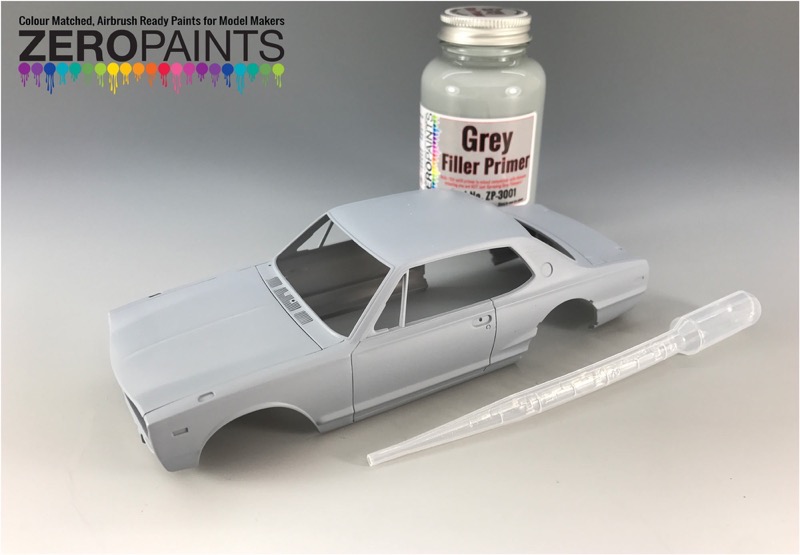
Primer is a preparatory coating put on before painting and is required before applying all Zero Paints, this ensures better adhesion of paint to the surface, increases paint durability and provides additional protection for the plastic/resin/metal parts being painted. Zero Paints Basecoat paint can be applied over virtually any primers; they have been tested with most popular brands with model makers e.g. Halfords, Tamiya and Mr Hobby (Mr Surfacer). We are using our own Airbrushing Filler Primer.
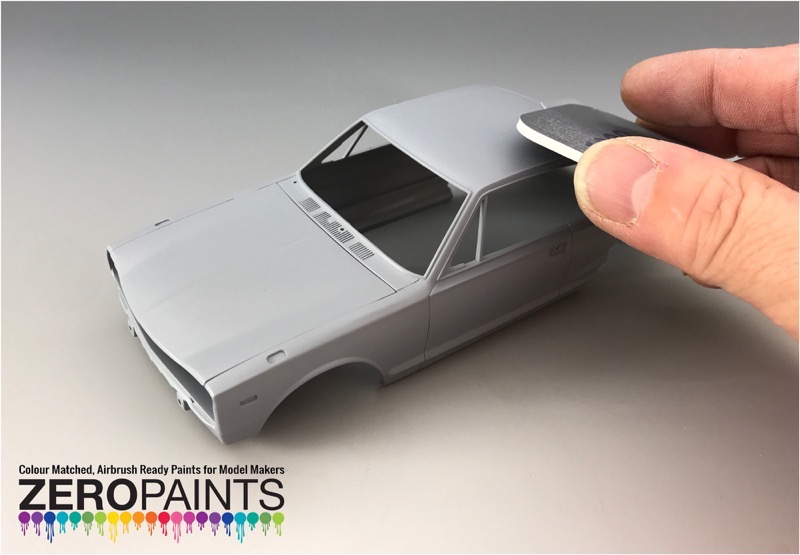
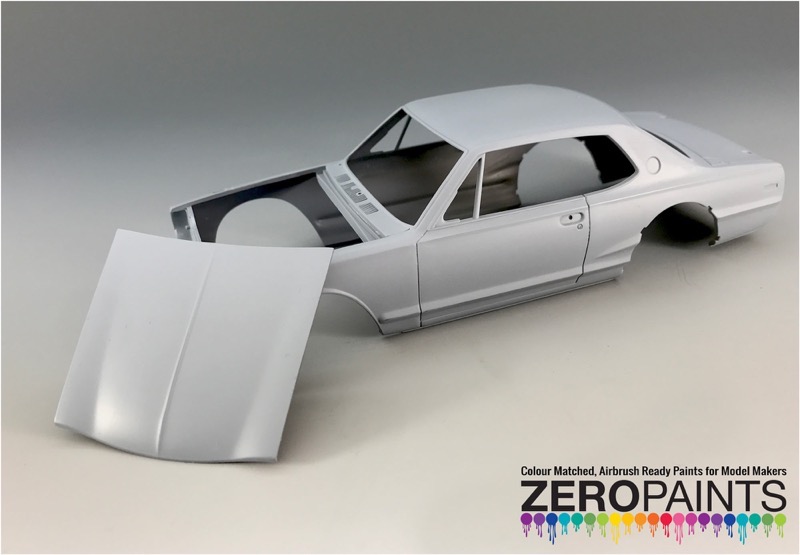
Apply your chosen primer with a light mist coat followed with a few medium coats until you have full coverage, leave until fully dry. Flatten the primer with abrasive paper, Micromesh 4000/6000, etc (we are using the Micro Finishing Cloth Abrasive Pads in the photos). Wash clean with warm water, the smoother the primer coat the smoother the over finish will be. Ensure the body is clean and dry (we left ours wrapped in a paper towel for 1 hour to fully dry). We recommended you use a Tack Cloth to remove all contaminants, surface dust and dirt etc left from sanding before continuing.

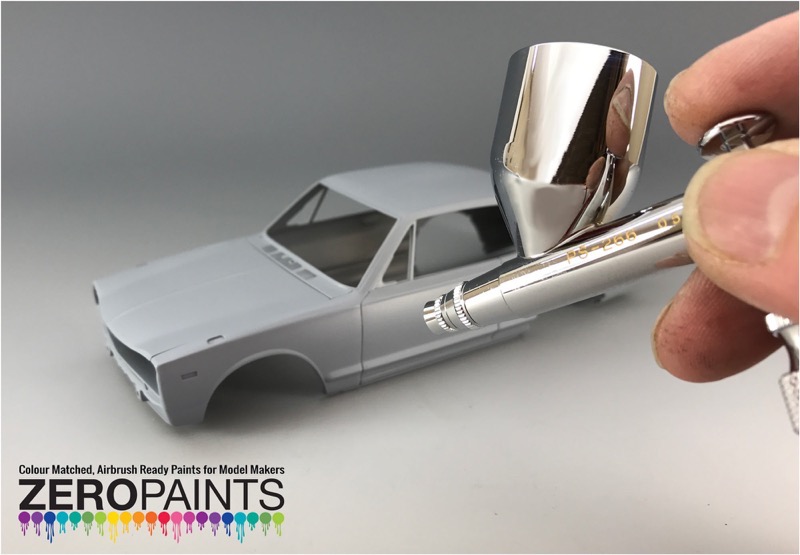
Colour Application
Always give your chosen colour a good shake or stir to ensure it is fully mixed as the individual colour components can separate and settle over time (white is heavier than other colours as it contains titanium dioxide). Set the pressure of your compressor between 20-40 PSI (most airbrushes these days are dual action so you can control the flow via the trigger), test and adjust as necessary for your own equipment. Zero Paints are supplied pre-thinned to suit most airbrushes with 0.3mm or larger nozzles. If more additional thinning is required Basecoat Thinners are available separately but, go careful too much thinners can make it too hot which may melt the plastic though the primer.
Groundcoat/Undercoat
Most colours can be applied over a white or light grey primer, but some require a particular Groundcoat colour to be applied first to get the correct finished colour. If these are required, apply 2-3 coats ensuring an even coverage.
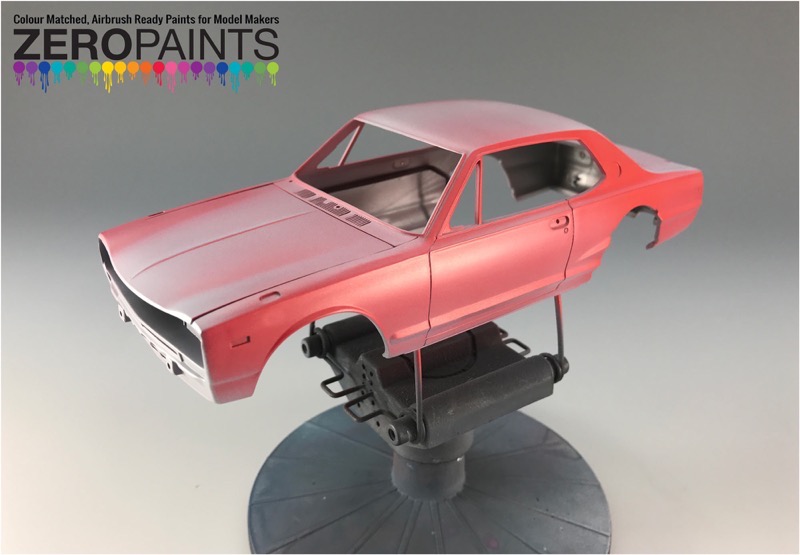
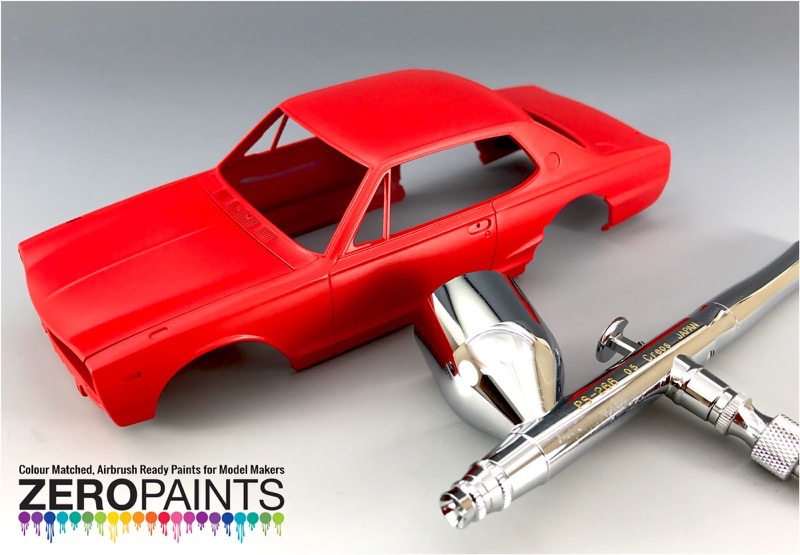
Basecoat
Depending on the colour to be applied you will need to apply about 2-4 coats. Yellows and similar light colours may take more coats than black and darker colours, each coat will dry within a 5 - 10 minutes depending upon room temperature (we recommend spraying at 18 - 21 dg C). DO NOT apply Wet Coats as you are just looking for a nice even colour coverage. The paint will dry MATT (this is normal). The final coat should be applied in a criss-cross fashion to allow an even consistency of the metallic or pearl particles. If you find any blemishes in your paint finish, use your abrasives to correct and apply more colour. We recommend leaving overnight before clear coating to be sure and metallic particles have cross linked (or they could move about when the clear is applied).
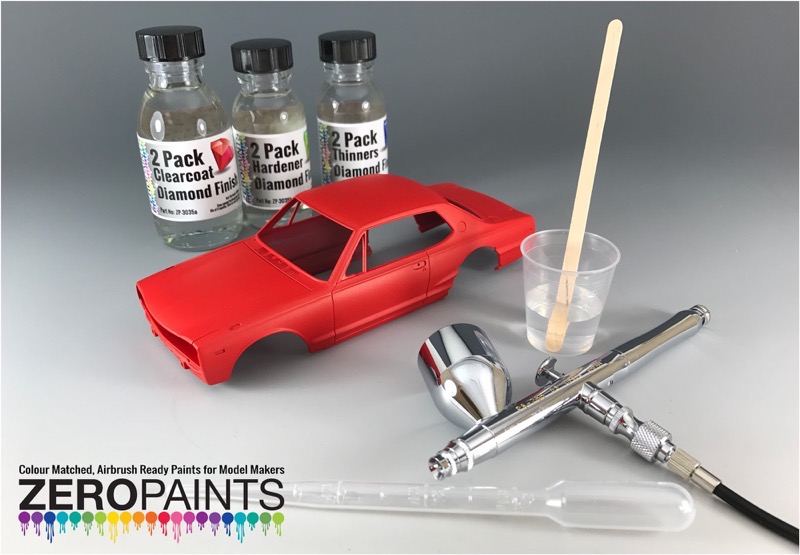
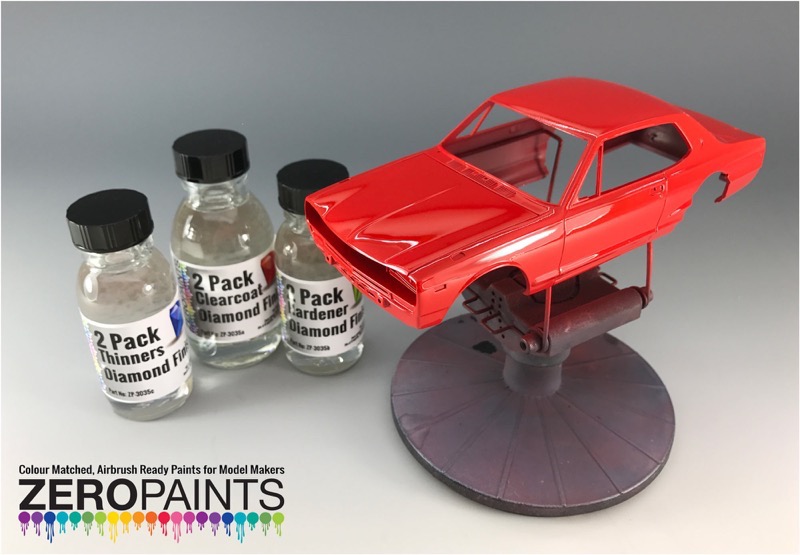
Clearcoating
As mentioned earlier the basecoat colours will dry with a Matt finish therefore, MUST be clear coated for a gloss finish. For the ultimate shine and colour depth the Diamond (2 pack) Clearcoat (ZP-3036) is recommended.
The following Clear coats have also been tested without any issues Tamiya TS13, Mr Hobby range (Mr Top Gloss etc), Halfords Lacquer and 1K Automotive Lacquer but, if in doubt do a test on scrap before painting your model.
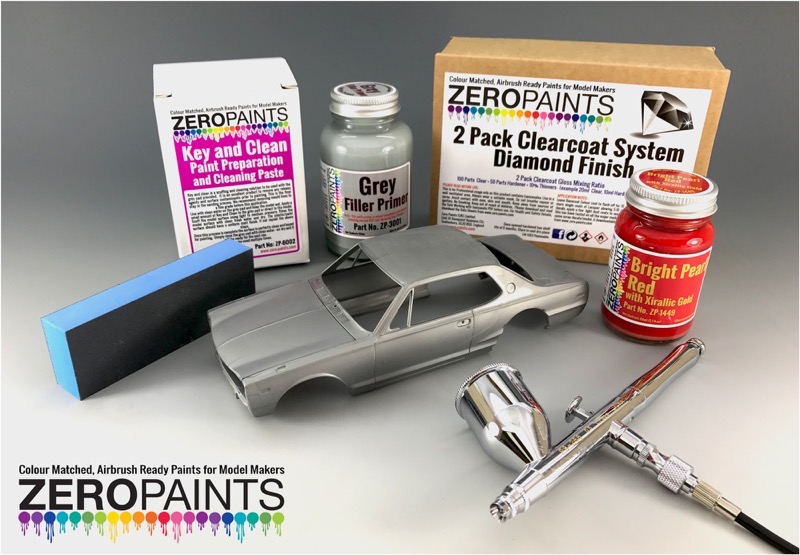
Items used in this guide:
- Mr Hobby Mr Procon Boy LWA Double Action 0.5mm - PS-266 Part No: GSi-PS266
- Iwata Power Jet Lite Compressor Part No: C-IW-PLITE
- Grey Filler Primer 120ml for Airbrushing Part No: ZP-3001
- Tack Cloth Part No: ZP-6005
- Key and Clean (Paint Preparation and Cleaning Solution) Part No: ZP-6002
- Micro Finishing Cloth Abrasive Pads - 6 pad Starter Kit Part No: ALB2000
- Diamond Finish - 2 Pack GLOSS Clearcoat System (2K Urethane) 220ml Part No: ZP-3035
- Airbrush Cleaner 250ml Part No: ZP-5101
- Spray-Work Painting Stand Set Part No: TAM74522
- 1:24 Nissan Skyline 2000 GT-R (KPGC-10 Hakosuka) Street Custom Part No: TAM24335
- Super Sanding and Finishing Blocks Part No: ALB352
- Paint Mixing Set (Mixing Cups, Pipettes and Stirring Sticks) Part No: ZP-2030